 Before you get started, make sure that you feel comfortable working on your motorcycle and that you have a safe place for the bike to reside while the shock is being replaced or off being serviced. We strongly recommend purchasing and using the appropriate front and rear stands for your motorcycle for optimum stability and safety.
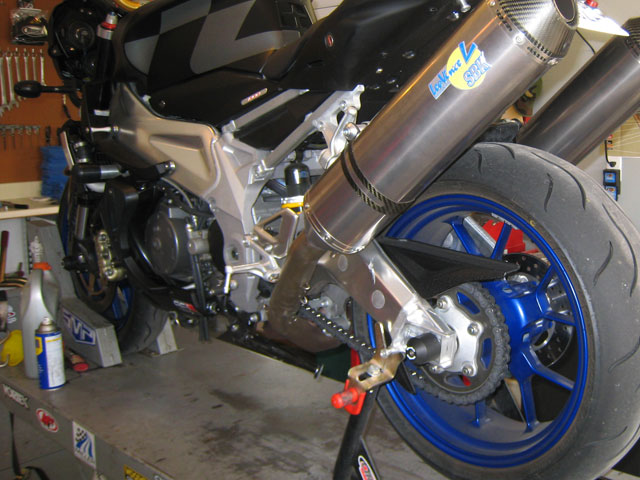
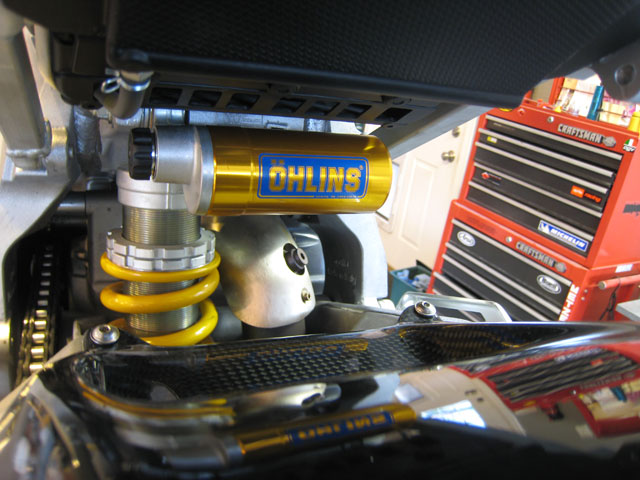
Removing a rear shock from a modern motorcycle looks fairly daunting, but while it is more involved than removing forks, removing a rear shock is actually quite easy. We chose an Aprilia Tuono that was getting an upgraded Öhlins shock as our test bike, but all bikes are essentially the same.
Take Note
In addition to a rear stand, it is very helpful to have a small jack that can be used to support the back of the motorcycle while the shock is being removed and replaced. Without the rear shock the swingarm will collapse. Also, without a jack to support and change the height of the back of the motorcycle there will be too much pressure on the bolts to remove them.
Step One
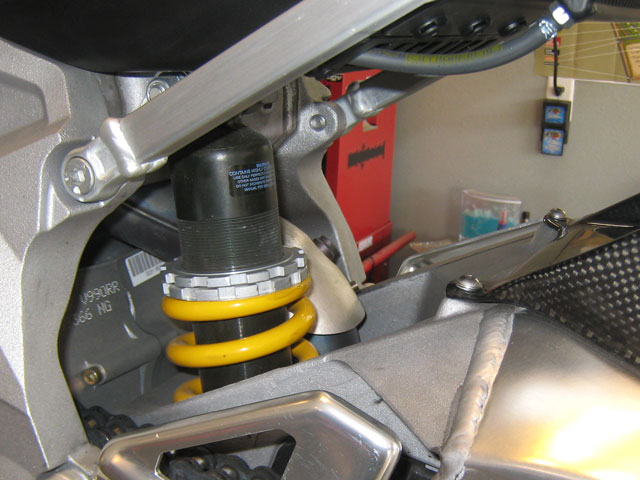
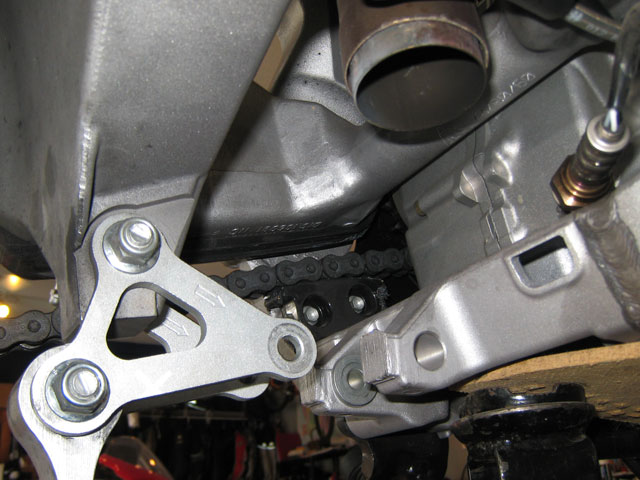
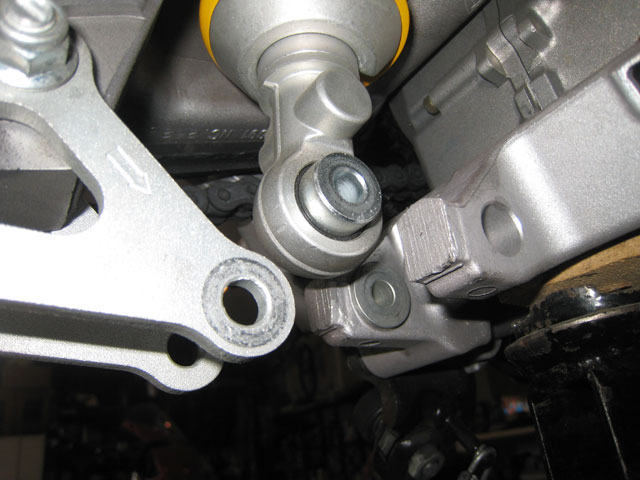
The bolts that hold the the rear shock in place use locking nuts so they are a little harder to thread on and off, so don't be alarmed if you can't thread them off with your fingers. On most shocks, there is linkage located around the bottom of the rear shock and single bolt located at the top. Loosen all the nuts, but don't pull the bolts out just yet. (We removed the exhaust system to make the images clearer).

Step Two
Support back of motorcycle with the jack so that there is very little weight on the swingarm. If you raise the bike too much so there is no weight on the swingarm, there will still be pressure on the rear shock and the bolts will be almost impossible to remove. This is where a small jack works well because you can make minor changes in height to obtain a neutral weight load and free the bolts.
Step Three
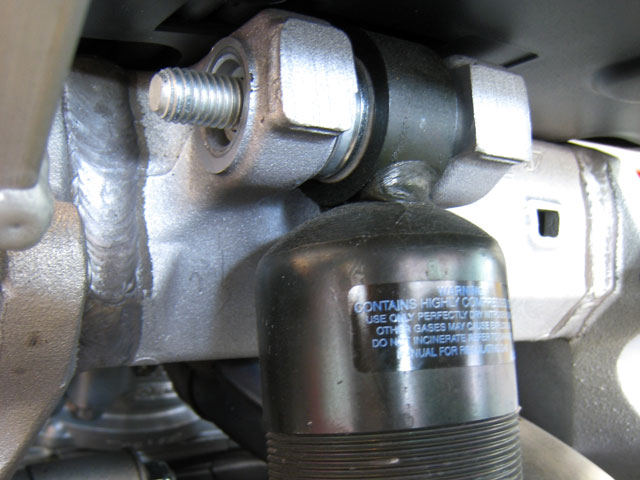
When all the bolts around the linkage are removed, remove the top bolt. Hold onto the shock when you remove the last bolt so that it does not fall out and onto the floor.
Reinstallation
To reinstall the shock, or replace the shock, everything is basically done in reverse. Depending on the shape of the shock and how hard it is to get back into place, you may want to wrap blue painters tape around portions of the shock that look vulnerable to prevent accidental scratching. Put the shock back into place and start by putting the top eye bolt in first.

 Reassembling the linkage can be the most complex part of the task. You may need to raise and lower the rear of the bike a little bit for all the bolts to line up again. Do not force any of the bolts or bang on them to get them back into place, you will damage the threads. Instead, patiently raise and lower the bike until everything lines up and the bolts slip into place with minimum force.
Reinstall the nuts to the ends of the bolts and properly torque them down according to your bikes service recomendations. Once the bolts are all in place, slowly lower the bike and remove the Jack, then remove the rear stand and make sure that everything is moving freely before taking that first test ride.